These last few months alongside the usual end-of-term push at college, I have been re-acquainting myself with Blender’s modelling and sculpting tools, working through the fun construction of a wee canine buddy. Hopefully later in the summer I shall be working upon a small animation short that failed to take flight earlier in the year, it’s a fun skit about a father/daughter relationship revolving around their household pet dog. I really enjoyed constructing the story, some students and industry folk at AProductions worked on the script, I chose the character rigs from Blender Studio but the dog wasn’t right aesthetically, so I have been enjoying creating a fresh fella that fits the style of the other rigs.
Here’s a spread of the last 30 or so saves! The process has been relatively straightforward –
- Simple shapes, remeshed cubes to create high-poly sculpt bases.
- Additional shapes booleaned together.
- Sculpted in stages as it developed.
- Eyes textured
- The mouth sack inserted and tidied up.
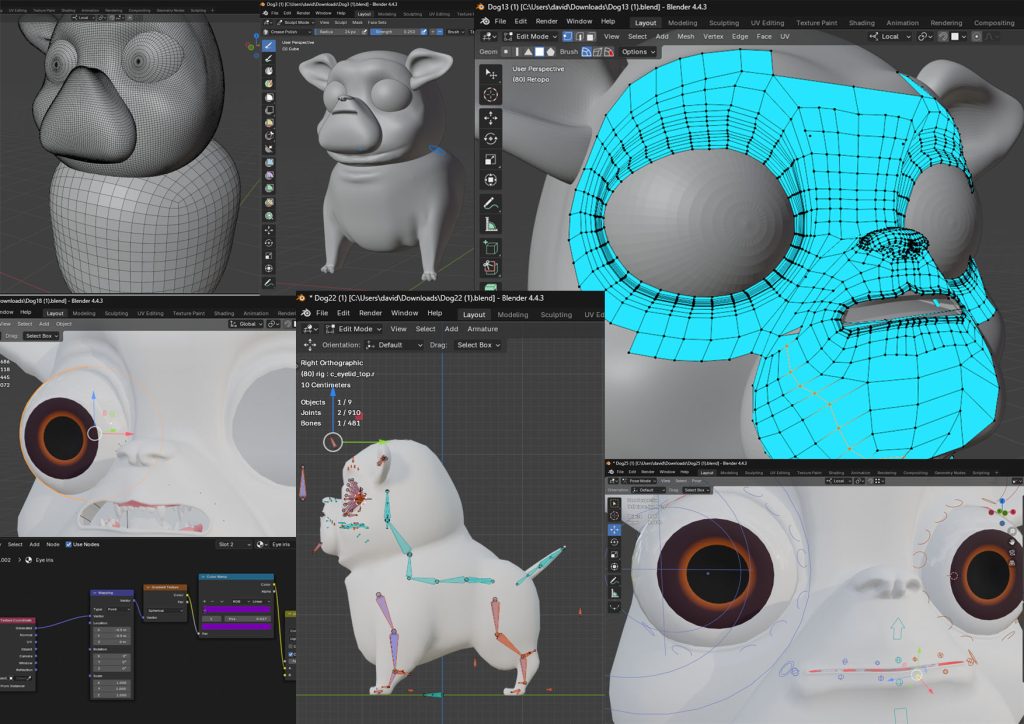
- When the majority of the main sculpt was completed I researched different tools for remeshing, not a skillset I’d looked into before but landed upon Polyquilt, it’s a super addon that very swiftly allows you to rebuild a clean mesh with simple tools and workflow. I’d definitely recommend it for beginners, more advanced artists would also no doubt do great things with it!!Check out those edge loops……..
- Teeth and gums developed.
- All meshes cleaned up, zero’d out the data/transforms, ready for rigging.
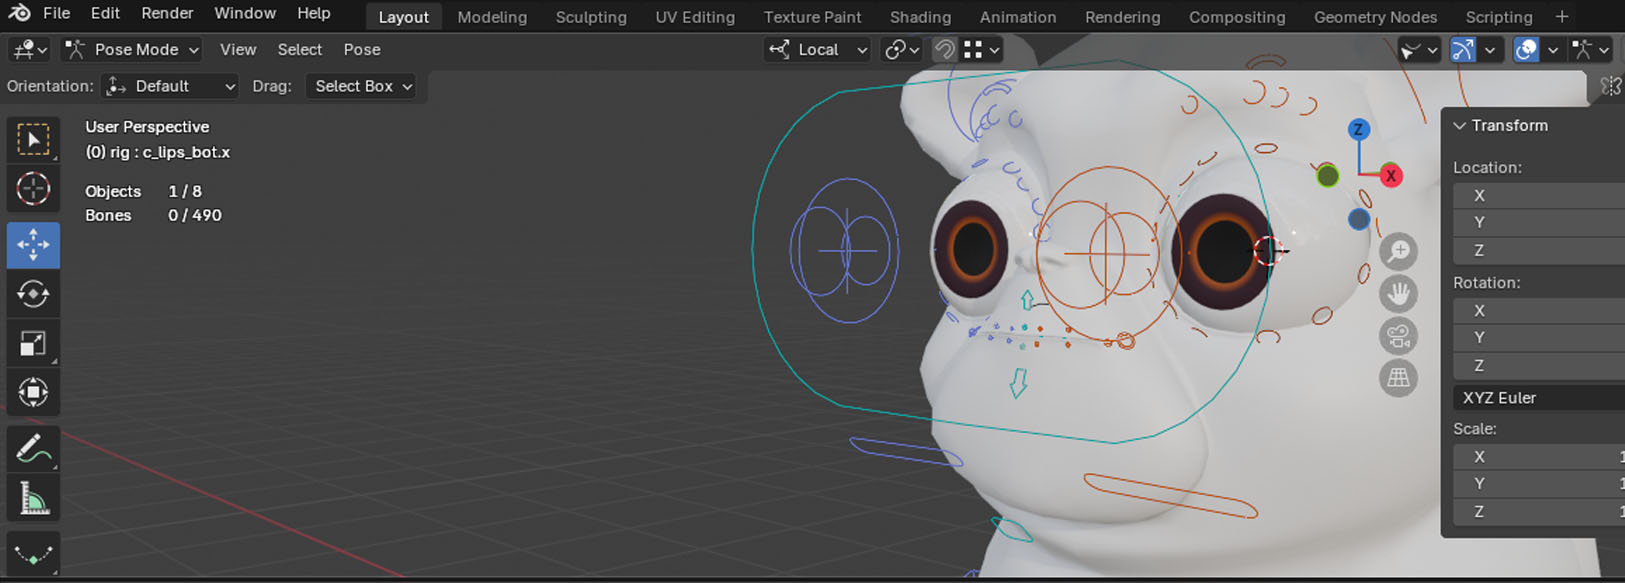
- Rigged. Time spent on good eye bone placement. I used AutoRigPro as usual, it gives fabulous results and has recently added a better blink mechanism that works so well!
After the construction was pretty much finished, I have been spending qite a bit of time figuring out the hair curve system. Whilst it is amazing, offering great results no doubt with relatively easy and intuitive tools, this is the end of line so far –
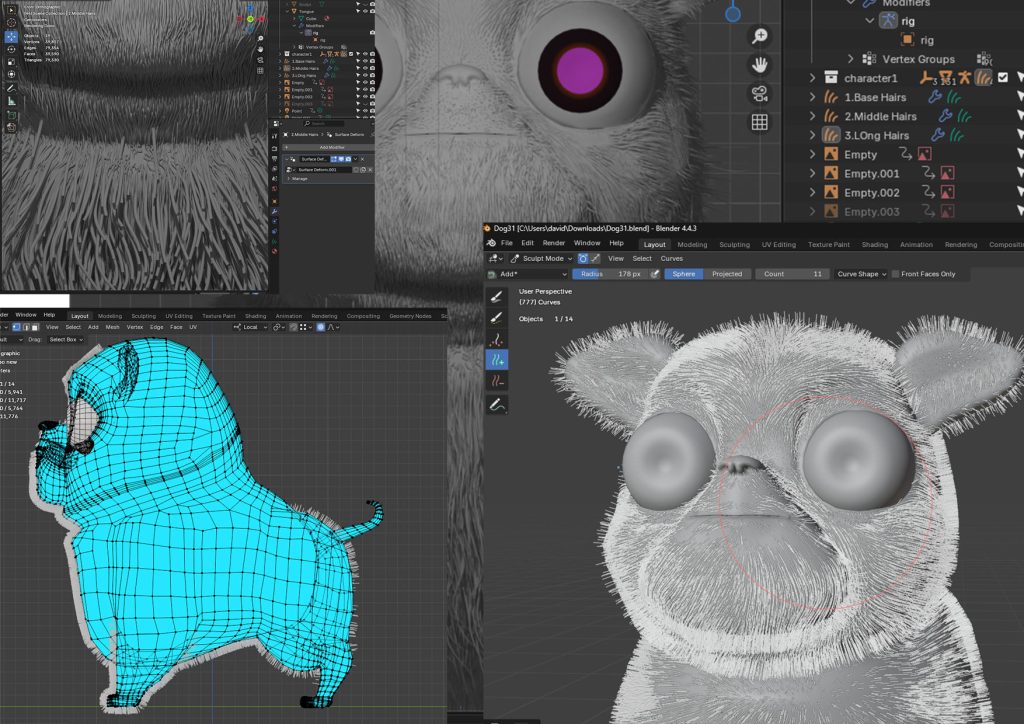
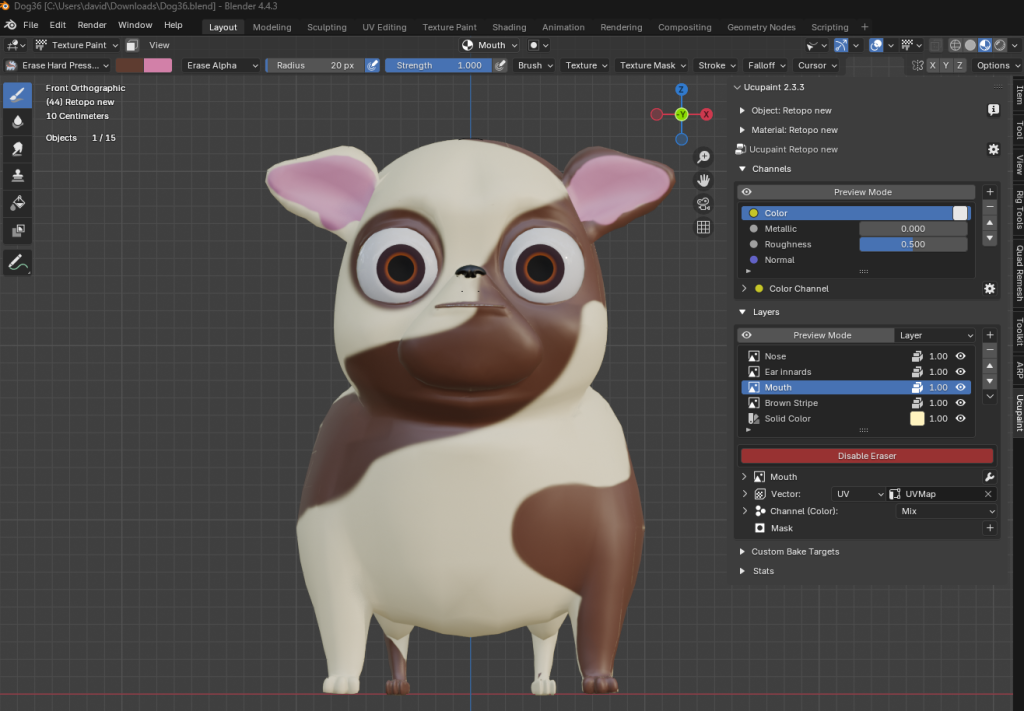
I would have persevered (indeed I hope to after some animation under my belt) but realised that the textural look would have been out of harmony with the other characters, they have a flat colour, non textural look. After a bit of skirting around the web, trying to get a free program that would alleviate my frustration with Blender’s texture painting system not having what I needed, and act like Substance Painter, or photoshop with a layers stacking system, I found this fabulous addon 🙂
https://github.com/ucupumar/ucupaint/releases
It’s a freebie that easily allows you to create separate images that stack up, perfect for this fella. This is where I discovered it and got the instruction, just a few hours in so far, learning how to marry up the edges of the marks with the brushes and the eraser. AND LAYERS!!! Much fun.